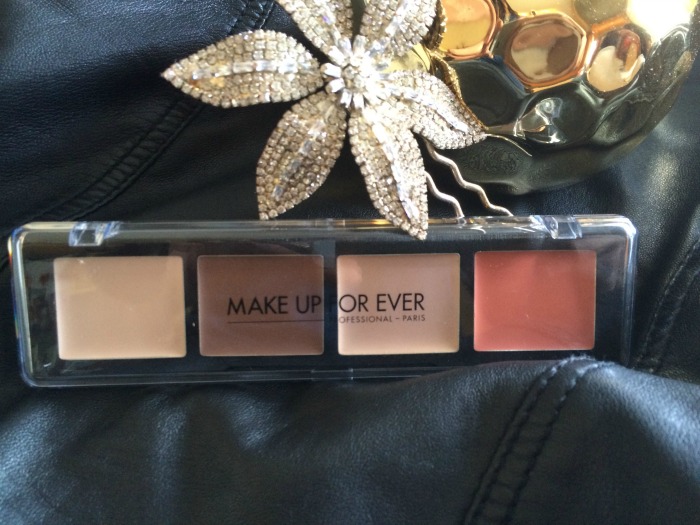
Make Up For Ever Creator and Artistic Director Dany Sanz centres her products around the fine art of beauty, translating it into the beauty of makeup. It was only fitting I was able to view and learn about MUFE’s new Pro Sculpting Face palette at the Al Green Art studio and how to contour like a pro!

{How To Contour Like A Pro with Make Up For Ever}
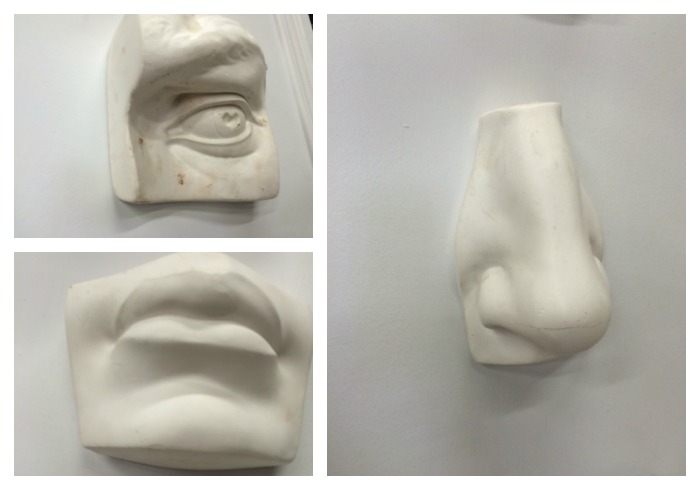
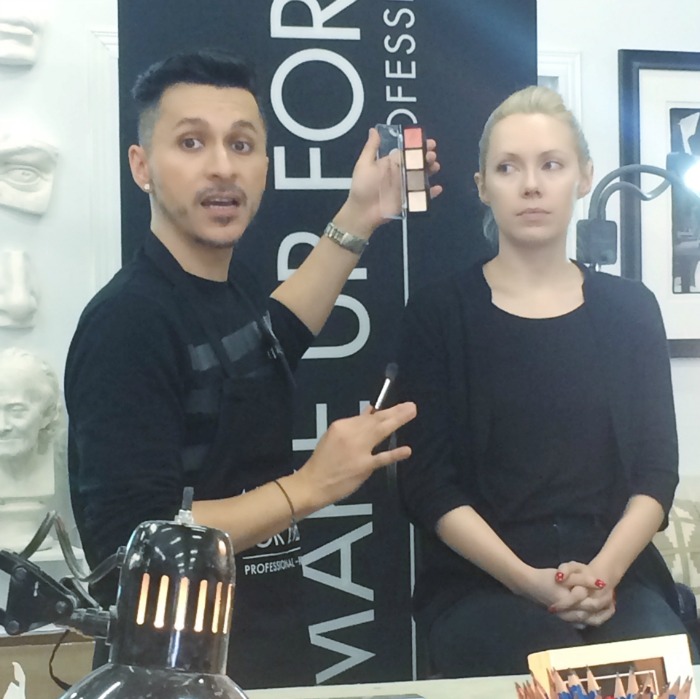
At the workshop, a sculptor helped us learn about the lines and angles of our faces, learning to see our face as shapes and planes. As we played with sculpting clay and sketched faces, it became clear that the shape of a face and its features can be defined by how light hits our face.

Light is able to transform a face. With purposeful placement, MUFE’s palette ($54) helps to sculpt while adding shadows and highlights to emphasize your best features.
MUFE’s Pro Sculpting Face palette boasts:
- An easy to blend emollient texture
- A range of shades to match varied skin tones
- A shimmer shade included in palette
- A guide included with diagram to show makeup placement
- A forumla that stays put all day
When contouring your face, the placement of each shade in the palette will determine how the light hits your face. The palette’s shades can be used to create contrast, creating the shapes and planes you want to highlight on your face.
Whether you’re a pro or a newbie to contouring, this palette is perfect for you. Upon opening the packaging, there is a guide included in the box which has diagrams to outline which areas of your face to apply each shade in the palette, laid out very simply. It’s best to take a look at the shape of your face before you start contouring to decide where you are going to apply each shade in the palette.

MUFE makeup artist Trinidad Story, guided us through the steps in transforming your face by contouring like a pro. He applied highlighter first, and suggested applying whatever you apply to one side of your face, to do the same on the other side, to keep each side of your face balanced. He then added the darker contour shade on the sides of the face just under your cheekbones.
This is my favorite part of contouring as I feel like the placement of this darkest shade in the contour palette is the one that shapes your face, and instantly emphasizes your cheekbones, lifting and defining them. The darker shade is also useful to define the planes of your nose, as you can use the darker shade on the sides of your nose to create a deeper plane, making the light catch the highlighted bridge of your nose instead.
The highlighter shade is best used just above the darker contour shade on your cheeks, and just under your brows as well. Trinidad used the shimmer on the inside corners of the eyes, and the top of the cheekbones as well as the bridge of the nose.
The skin colour/blush shade is best used on the cheekbones to add colour back to the face, giving it a healthy glow. Trinidad also used this shade on the eyelids, demonstrating the versatility of this palette.

Once you’ve applied all the shades in the palette, I found it was best to step back and take a look at which areas of your face need more blending. The contouring palette makeup, which contains Carnuba wax, is emollient enough that the makeup glides on, and is easy to blend. My makeup stayed put through a full work day, remaining in place through to the end of the day.
This palette is a great way to begin contouring, and is high quality enough to be used by makeup pros. Although this is the first time I’ve tried contouring, this makeup palette was versatile and the makeup blended so well, I now feel comfortable enough to use contouring in my daily makeup routine, and will be trying a more dramatic look for a night out soon!

Thanks for sharing your beauty experience and love your contour makeup look!
Ursula
http://www.blueridgebeautyblogger.com
Great recap of everything we learned at the event. I love this palette and have been using it everyday! It was wonderful meeting you Donna. Hope to see you soon!