*** Warning: picture heavy and lengthy post! But sooo worth it I promise! ***
Have you guys ever wondered how to get that perfect messy pony tail, that fancy side swept up do or the trendy top knot? Well me too! And I don’t pretend to be an expert now but at least I now know the basics!
Stephanie of Blush Pretty decided to bring a hair work shop to her beauty workshop series because there were times where she was hired to do make up on a photo shoot and the hair person was either late or didn’t show up at all! She’s had to come up with several go to hair styles that will look good on many people and that can be done quickly (with practice of course).
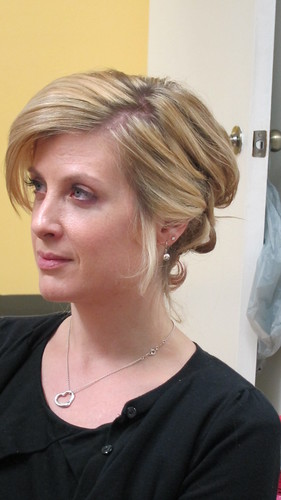
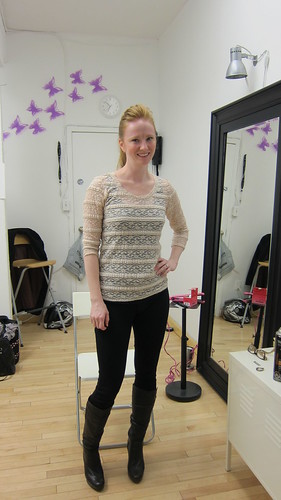
So let’s start with the cool fancy side sweep modeled by the one and only Meredith of Et Tu And You
A must have tool of the trade: a flat iron that you can curl with – saves you money and saves you from carrying more than one tool with you if you’re on the go. Stephanie expertly parted Meredith’s hair from top to bottom and curled with a flat iron and began to pin towards one side. Bobby pins. Lots and lots of bobby pins are a must have.
More tools of the trade, clips to hold the hair you’re not working with up and out of your way.
Meredith checking herself out as Stephanie sprays with hairspray. A must have product for styling hair.
Front pieces pinned off to the side and the final gorgeous look!
Here’s one more from the other side.
Now on to the cool messy high pony tail.
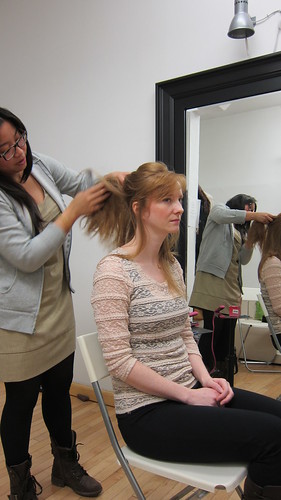
Stephanie’s game plan is to take the gorgeous Monica’s hair up and off her face in a high pony tail with volume at the top. Teasing with a proper teasing comb is a definite must.
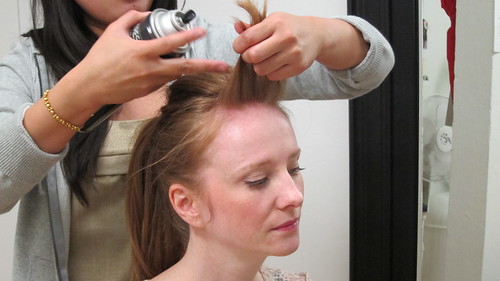
First step is to tease, tease, tease the hair at the top of the head.
Look at the nice “bump” that’s formed.
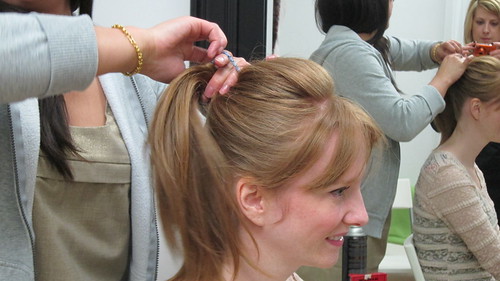
Smooth the hair at the top of the bump and gather hair into a pony tail and secure with a hair elastic (another must have). Stephanie noted that when she has more time she ususally doesn’t use a hair elastic, but this workshop was meant to show us the quickest and fastest way to get the job done while making it LOOK like you spent hours.
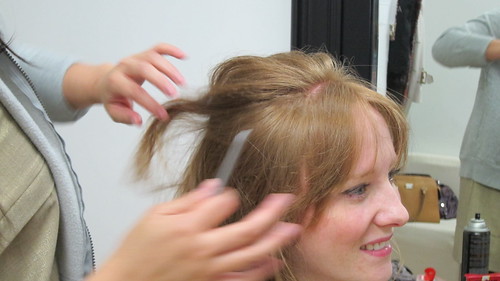
If you have bangs like Monica does you can leave them as is or sweep them off your face by lightly teasing for volume and spraying with hairspray while coaxing the bangs up and back off the face.
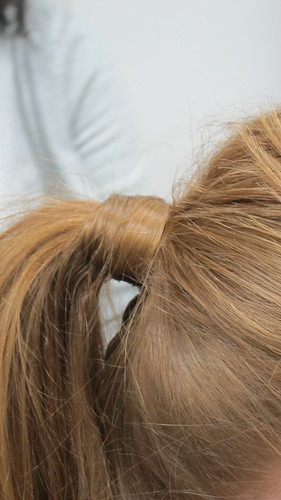
Don’t forget to cover the elastic by wraping hair around it and pinning in place.
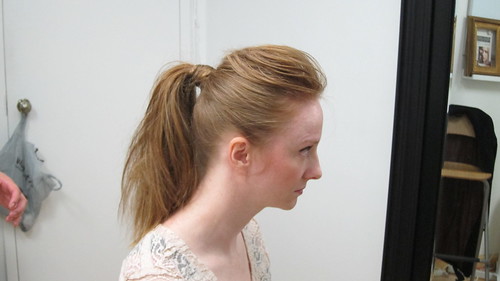
As a final step Stephanie decided to tease the pony tail part of the hair to give it extra texture and volume and not look so “sleek”.
Gorgeous!
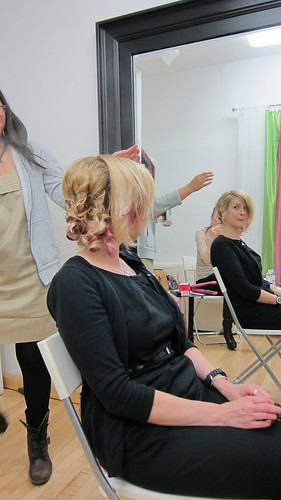
And now on to the top knot! Special thanks to Meredith for snapping photos of me while Steph was working her magic.
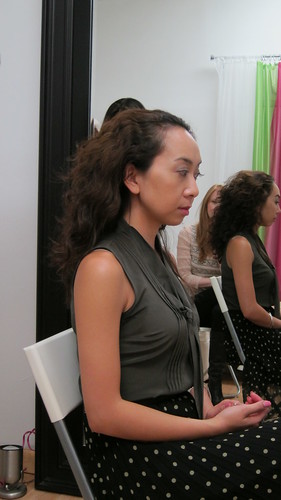
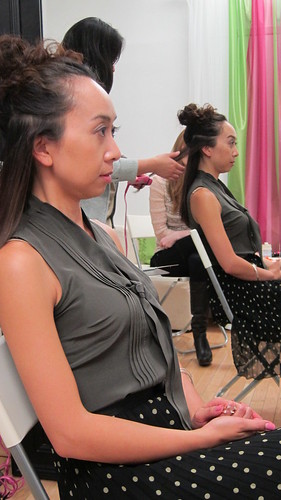
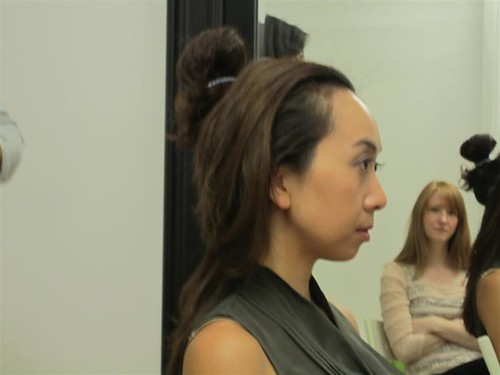
My hair is naturally curly and I don’t have bangs right now so I usually have the front part pinned up. Here’s my hair in it’s “natural” state after being at work all day. I’m sure I put it up and took it down several times throughout the day!
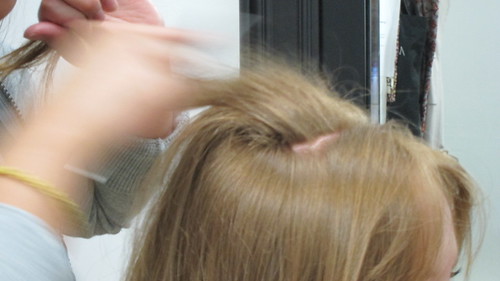
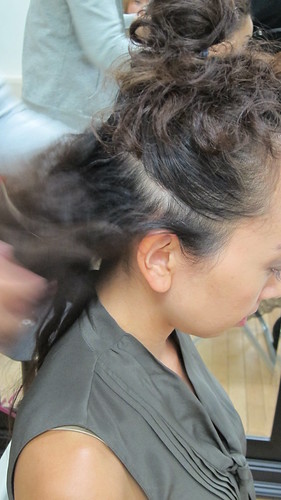
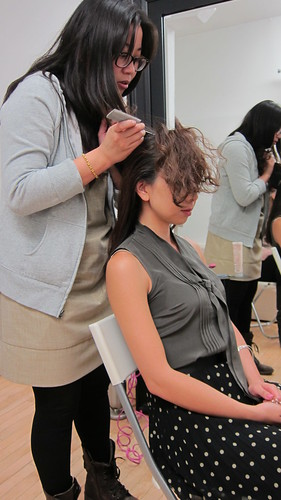
Action shot! Stephanie is attempting to part the bottom of my hair from the top much like she did for Meredith’s side sweep. My hair is kind of a rats nest under there so the blurriness is Stephanie trying to comb it out (and if you look closely…a grey hair!!! LOL!)
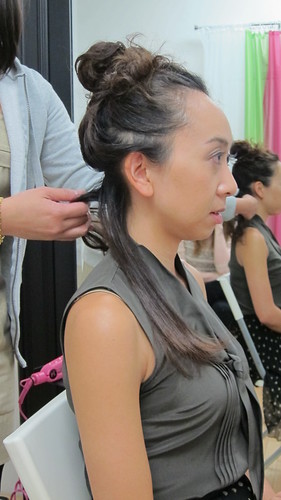
After parting my hair, the top portion is up and out of the way. Stephanie used the straightening iron to flatten out my curls as much as possible. She also used a cream based product for hold and shine.
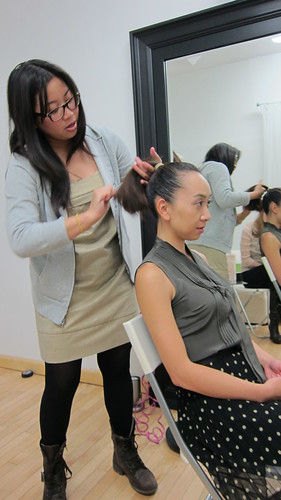
She continued to take small sections and flat iron around my head at the bottom and the sides.
Once the back and sides were done she parted a portion of the front and went on to straighten that section keeping the middle part as is.
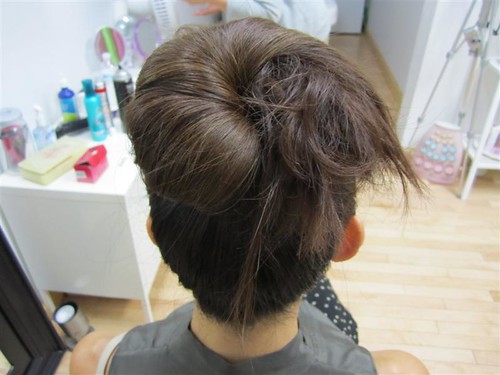
As you can see above the curly “bun” is still there. Stephanie said that straightening this part was not necessary as it would be covered and it was great for give the top knot a lot of volume.
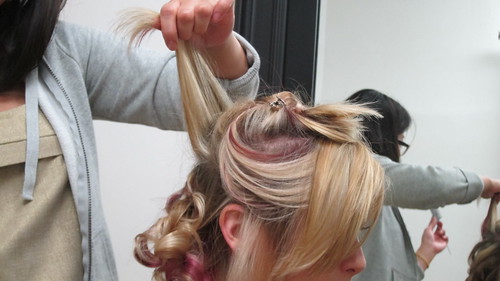
She proceeded to gather my hair into a pony tail – all the nice straight parts were around the poufy bun. If you don’t have curly hair she said she would tease the heck out of the middle part for as much volume as possible.
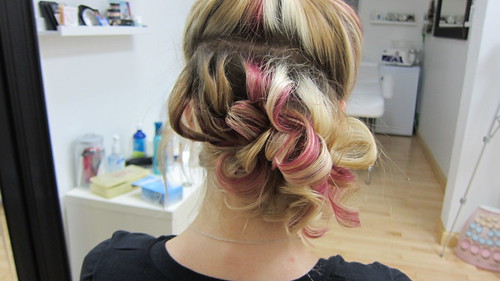
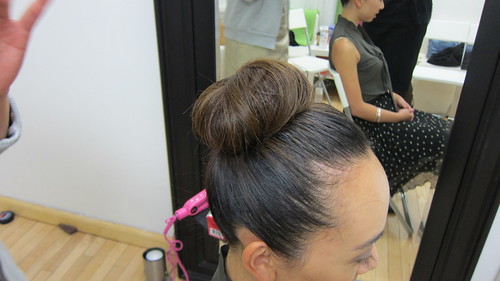
Next, wrap the nice smooth hair around into a neat top knot and pin at the base with bobby pins.
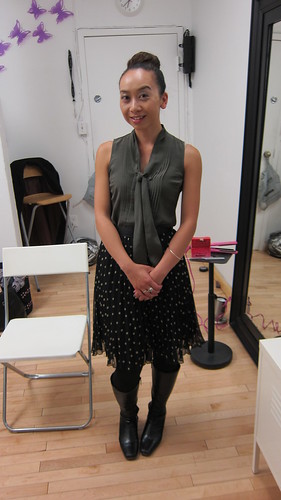
Tada!! And of course finish with hairspray!
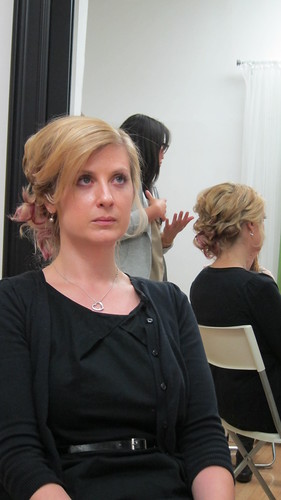
My top knot even lasted til the next morning (and no I didn’t sleep on a wooden block, and yes I do move around in my sleep!). I only had to repin one stray hair. I got a ton of compliments on my new do too…now to attempt it myself!
So there you have it! An amazing hair workshop that I HIGHLY recommend you attend. If you’re a makeup artist you may find yourself in a situation where you are called upon to do a really great look that will translate well for photographs. If you’re a normal person like me you can learn how to do amazing quick hair styles for yourself without worring about technique.
Be sure to check out Meredith’s more timely post on the workshop.
Contact Stephanie at Blush Pretty (stephanie@blushpretty.com) for more information on when the next hair workshop will be held!

OMG yeah I suck at hair too, that’s why this workshop was sooo helpful! I will definitely still need to practice though!
Do it SPG!!!! Can’t wait to see it on you!
Thanks Tess – and LOL now that my hair is short I’ll have to wait to re-create it 😉
Thanks hun!! The funny thing is just a few days ago I chopped all my hair off LOL!!
This is definitely the perfect do for outta control hair – it obviously worked for mine 😛
I know I love the pony tail one too! So chic! Which bump it do you use? Did you try the Japanese one with velcro?
Thanks Sherry! Do you think you’ll give the top knot a try?
Thanks Michelle! And really, those are my eyelashes pretty much down to the last few! They really did last quite a long time on me. They have all completely fallen out now 🙁 I will probably get them done again soon it’s just that I have a few mascaras to be reviewed LOL!
I wonder if there’s a way for girls with shorter hair to achieve a faux top knot…hmmmm…will have to look into that!
Yay, skirt twins!!!!!
Thanks New Petite! So my intention was to try and do it myself…but then I went to the hair salon and chopped all my hair off LOL! It will grow back soon though so I’ll try it again then 😉
Kayla would look amazing with a top knot! I can already picture it!
I really like your top knot!
Aww you look great, Elaine! Steph is awesome with hair! All the ladies looked gorgeous!
So cool! I want to try the top knot. We’ll see if clumsy me can make this work 😉
I’ve already said this, but you look so lovely with your hair like this!
I LOVE the topknot bun on you! It looks great! So, I can dress and do makeup, but the one thing I stink at is doing hair! If only I could have someone do it for me every day!
pretty!! my hair is way out of control these days; i could use a pretty bun
Love all the hairstyles. My favorite one is the pony tail with the bump – I have been addicted to bumps as of late. What a great workshop. Thanks for sharing my dear.
This is great!! Directions you can actually follow and see so you know what to do! Thanks for sharing! The top knot looks great on you and I love your skirt! 🙂
http://sweetandsassy-sherry.blogspot.com/
That is great that your hair lasted an extra day! I love your outfit for these shots!
And…your eyelashes look amazing!!
Thanks for the step-by-steps. That top knot looks phenomenal on you! My hair’s too short and far too thin for that style, so I admire from afar!
We are skirt twins! And what fun hairstyles 🙂
WOW! Loved all the styles she created, but yours was the best! hope we get to see you with the top bun again 🙂
Nice post! I will have to show this to Kayla since she has tried to perfect the pony tail with the bump. I can’t wait for my hair to get a little bit longer so I can try this too! Heather
Nice post! I will have to show this to Kayla since she has tried to perfect the pony tail with the bump. I can’t wait for my hair to get a little bit longer so I can try this too! Heather
Nice post! I will have to show this to Kayla since she has tried to perfect the pony tail with the bump. I can’t wait for my hair to get a little bit longer so I can try this too! Heather
Nice post! I will have to show this to Kayla since she has tried to perfect the pony tail with the bump. I can’t wait for my hair to get a little bit longer so I can try this too! Heather
Nice post! I will have to show this to Kayla since she has tried to perfect the pony tail with the bump. I can’t wait for my hair to get a little bit longer so I can try this too! Heather